Get Started: Container Gardening
Container gardening is a versatile way to save space and maximize plant growth. You can handpick the best spot for your plants depending on the amount of sunlight they need, utilizing both indoor and outdoor space from the porch to the balcony to the window sill. Not only are plants accessible for your busy schedule but planting separately in containers avoids growing in contaminated soil. Read on to learn how to set up your container garden and some common errors to avoid!
Container gardening is a versatile way to save space and maximize plant growth. You can handpick the best spot for your plants depending on the amount of sunlight they need, utilizing both indoor and outdoor space from the porch to the balcony to the window sill. Not only are plants accessible for your busy schedule but planting separately in containers avoids growing in contaminated soil. Read on to learn how to set up your container garden and some common errors to avoid!
LOCATION
Choose a sheltered spot that is somewhat shielded from windy conditions.
Place containers in area with 6-8 hrs of sun.
When placing pots near your house, south-facing walls can radiate heat for warm-weather crops.
CONTAINER

Drainage is the most important feature of any container you will use. Excess water must be able to drain out of the bottom of the container. Plants CAN drown if their roots are waterlogged. You do not want your plants sitting in water!
Make sure your container has drainage holes in the bottom.
Adding rocks or pot shards in the bottom is not a substitute for drainage holes and still risks becoming waterlogged.
DIY upcycling options include old buckets, wooden drawers, rubbermaid containers, milk jugs, large yogurt containers, etc.
You will need to drill or punch holes in bottom of these containers .
Plastic pots are more prone to drowning plants than clay or fabric pots. Clay and fabric "breathes” (allows some airflow) while plastic is impervious to evaporation.

POTTING MIX
Look for “potting mix” or “potting soil” rather than garden soil or topsoil.
DO NOT USE soil from your yard or garden. It is too heavy and can become “compacted” (lose air pockets) and is more likely to have weeds or pests.
DIY potting mix is often more economical at a large scale, such as for raised beds or large pots.
The mix will include 1 part peat moss (lightweight), 1 part vermiculite or perlite (improves drainage), 2 parts compost (adds organic matter), with additional fertilizer such as fish emulsion). You can find other potting mix recipes online.
COST-SAVING OPTIONS FOR FILLING CONTAINERS.
Fill the bottom ¼ of your container with organic material (dry leaves, pinecones, wood mulch) and then top with potting mix. For deeper root systems like tomatoes or root vegetables, make sure you have 12” of potting mix.
In tall raised beds (24” or more), the bottom 50-60% can be filled with untreated wood, logs, sticks, mulch, and leaves.
Alternatively, if you do not have extra yard waste, you may fill the bottom few inches (2-6”) of your container with inorganic material (i.e. packing peanuts, crushed soda cans, rocks, pot shards).
*NOTE* this will make your pot dry out more quickly be sure to water regularly.
WATERING
Pots require more frequent watering than garden beds. In hot and windy conditions, you will need to check and water plants daily, or even twice a day.
Make sure you water the soil at the base of the plant and not the leaves. This allows for more efficient absorption by roots.
Early morning and evening are the ideal times to water your soil.
COMMON ERRORS
Container is too small
Larger plants like tomatoes and peppers need at least a 10” diameter pot. Taller plants, which have deeper root systems, need taller pots of 12” or more.
Inconsistent watering
You want to maintain moist soil – not soggy or dry.
Container has poor drainage
Waterlogged roots can kill your plant! Make sure your container has drainage holes in the bottom.
Overcrowded container
Too many plants in a container have roots competing for space, water, and nutrients.
Inadequate sunlight
Most summer crops and flowers need 6-8 hours direct sun. Be sure to check your plant’s sunlight requirements before deciding where to place it.
Inadequate fertilizer
Vegetables tend to require more nutrients when grown in containers. Use a slow-release organic fertilizer such as worm castings, liquid fish emulsion, or seaweed fertilizer.
HELPFUL LINKS
Get Started: Edible Flowers
Flowers can provide delicious garnishes and flavors to your meal! Learn about some do’s and don’t’s of growing and eating your own flowers.
Important Guidelines
Not every flower is edible! Eating unknown flowers can make you very sick.
For this reason, always identify the flower exactly and eat only edible parts of those flowers. KNOW your flower varieties!
Never spray pesticides or chemicals on any part of any plant that produces blossoms you plan to eat.
It is best not to harvest and consume flowers from the roadside.
Never use flowers from the florist – they are often chemically treated.
Common Edible Varieties
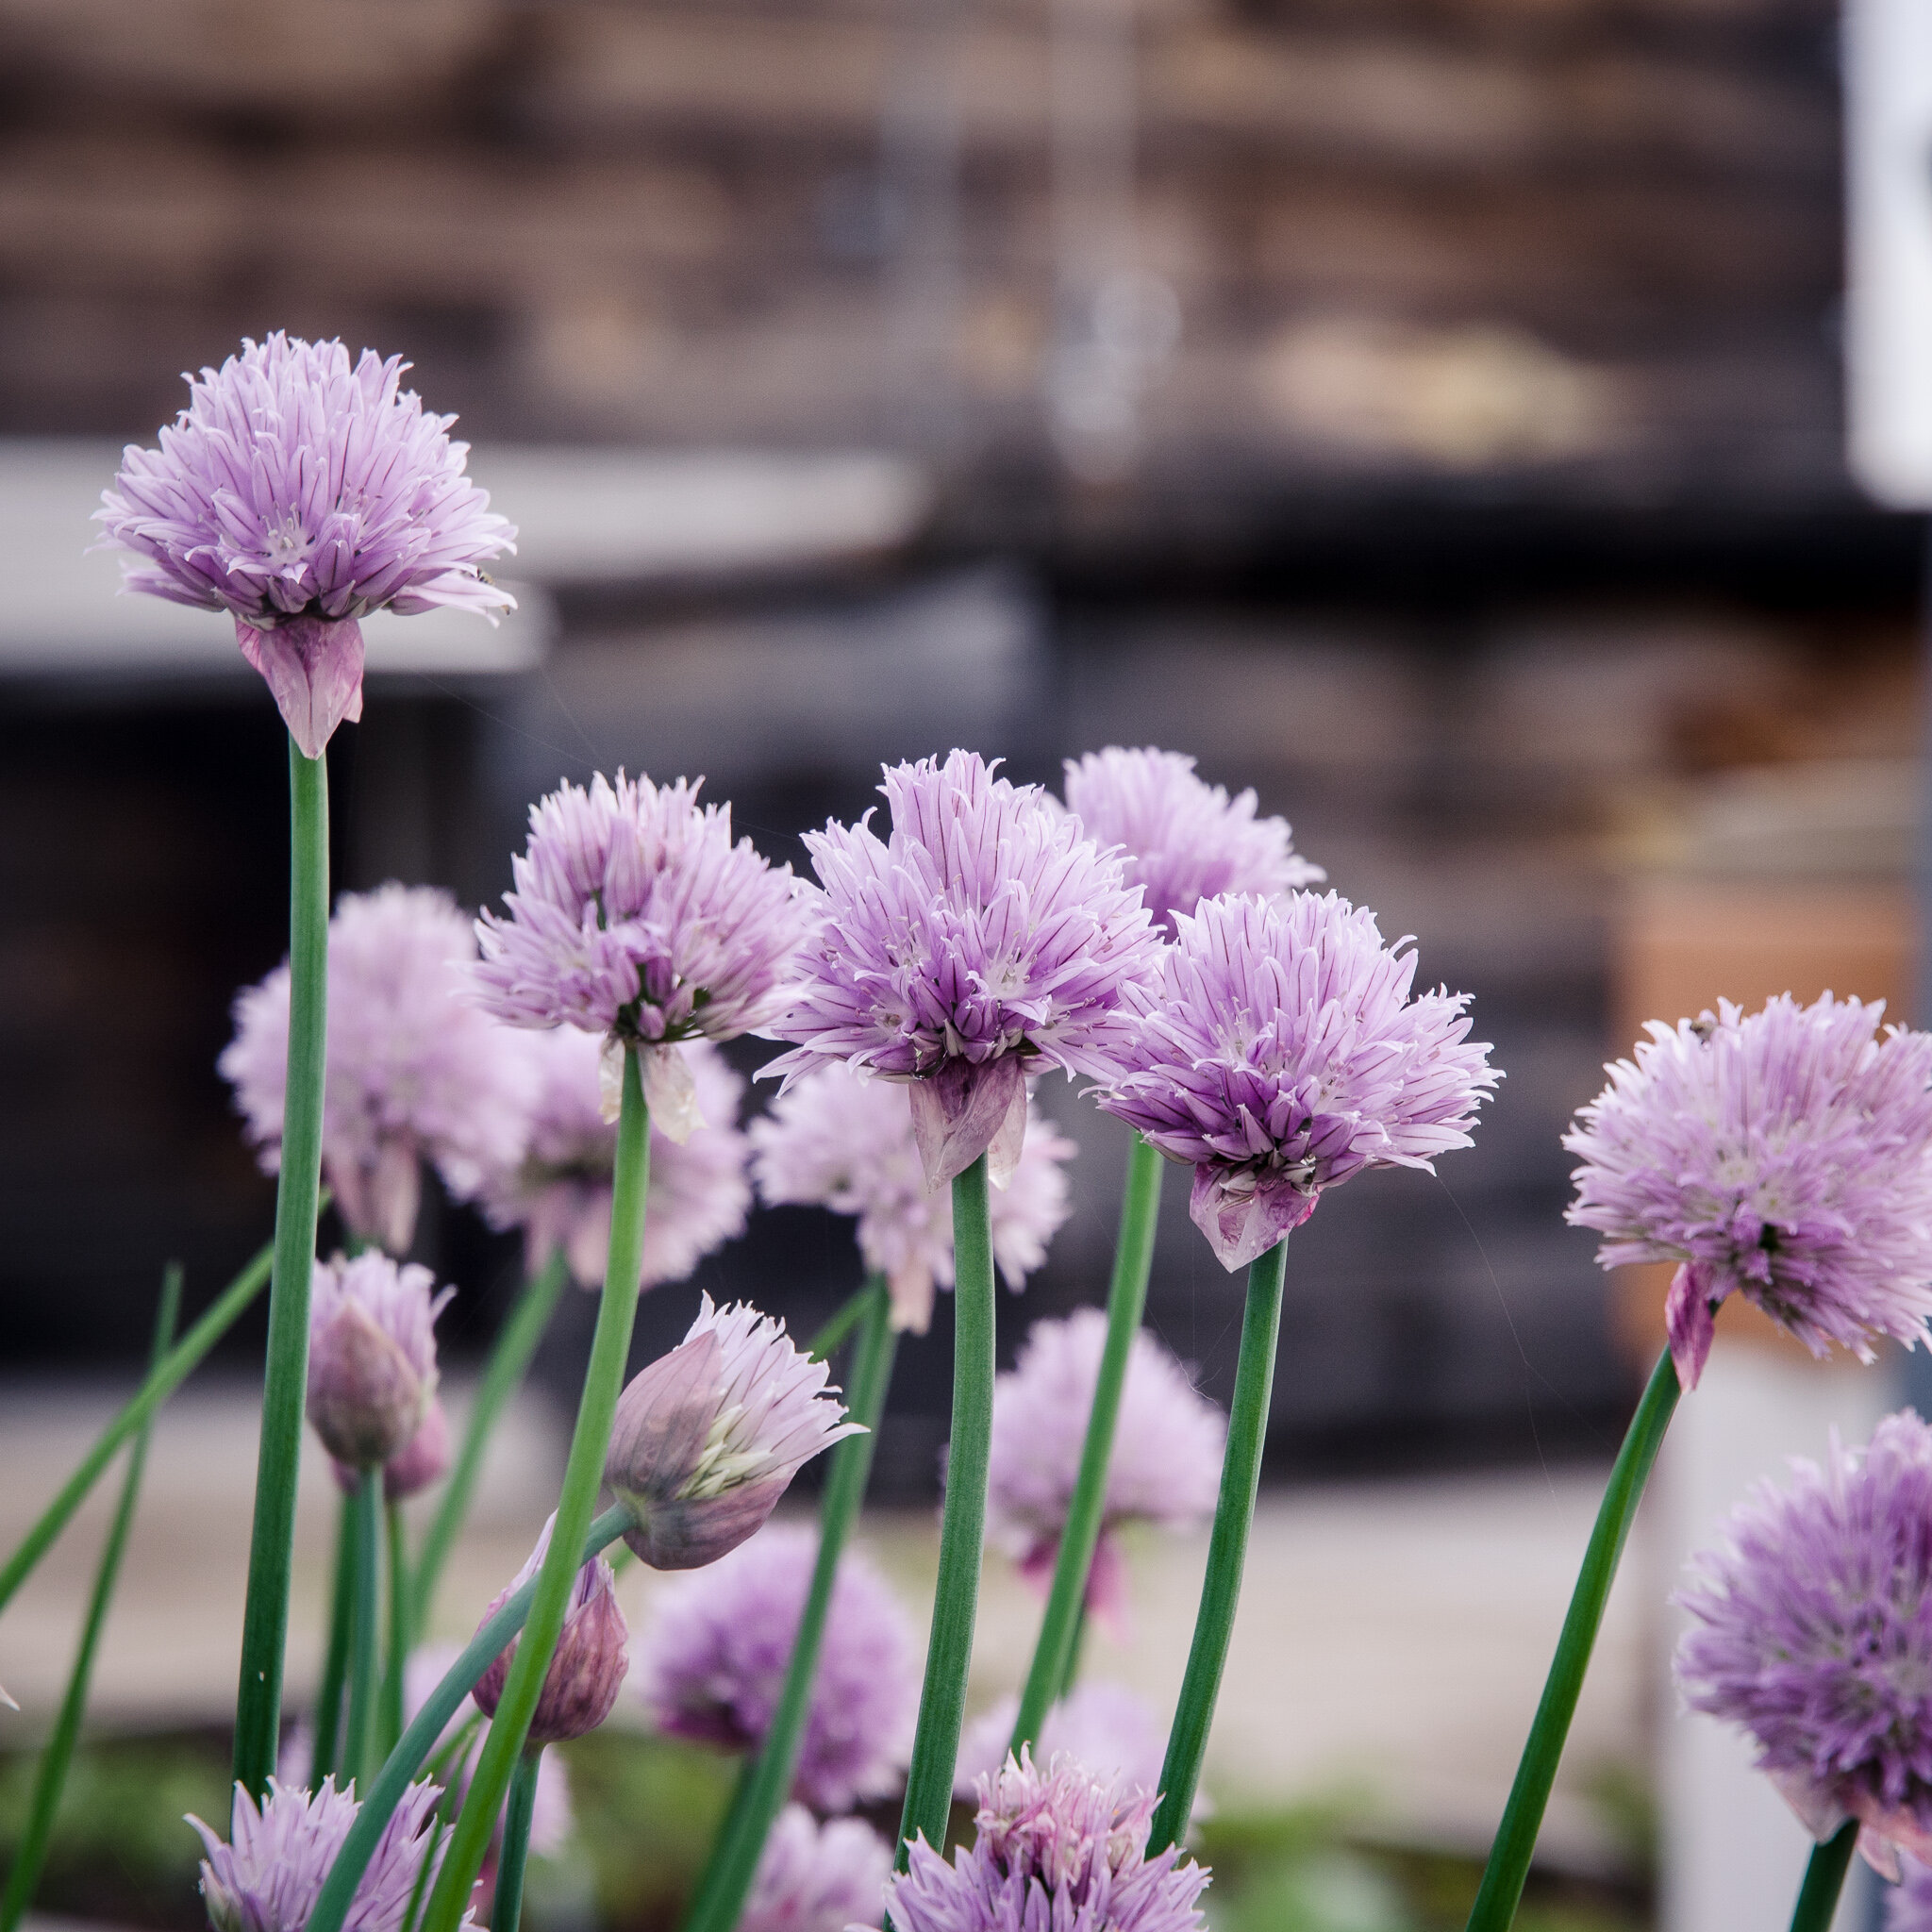
Delicious chive flowers!
Popular edible flowers include squash blossom, clover, daisies, dandelions, hibiscus, borage, honeysuckle, lavender, lilac, mums, nasturtium, pansies, roses, sunflowers, and violets.
How to Use
Start with flowers that you grow organically, which ensures that they are pesticide-free. Before consumption, remove the pistil and stamen then rinse the petals thoroughly and lay on a towel to dry or blot carefully. Flowers make excellent and visually appealing garnishes for salads, butters, vinegars, sugars and savory meat dishes. Dried flowers are a staple in teas across the world. Some sweeter varieties like rose, lavender, and carnation are popular for adding to desserts. Remove the white base of the petal, which is usually bitter tasting. You will often use individual petals to incorporate into recipes but for decorating, whole flowers or clusters of flowers can be used.
Herbs
Herbs may be grown for harvesting either their flowers OR their leaves, depending on your desired use. Certain herbs are known for their flavorful flowers, including Munstead Lavender (sweet), Bee Balm (spicy), Pineapple Sage (sweet), and Chives (savory). However, if you are not specifically harvesting the flowers, you should cut back your herbs before they flower so that the leaves don’t become bitter and the plant can focus its energy on leafy growth. Cut or pinch off flower buds to keep your plant focused on growing flavorful leaves.
Recipes
Spring Salad with Edible Flowers
Nasturtium Pesto (leaves & flowers)
Hibiscus Iced Tea (Agua de Jamaica)
This blog post is responding to a question asked by one of our community members! To submit your own question or topic, click here.
Partner Spotlight: The Fit and Food Connection
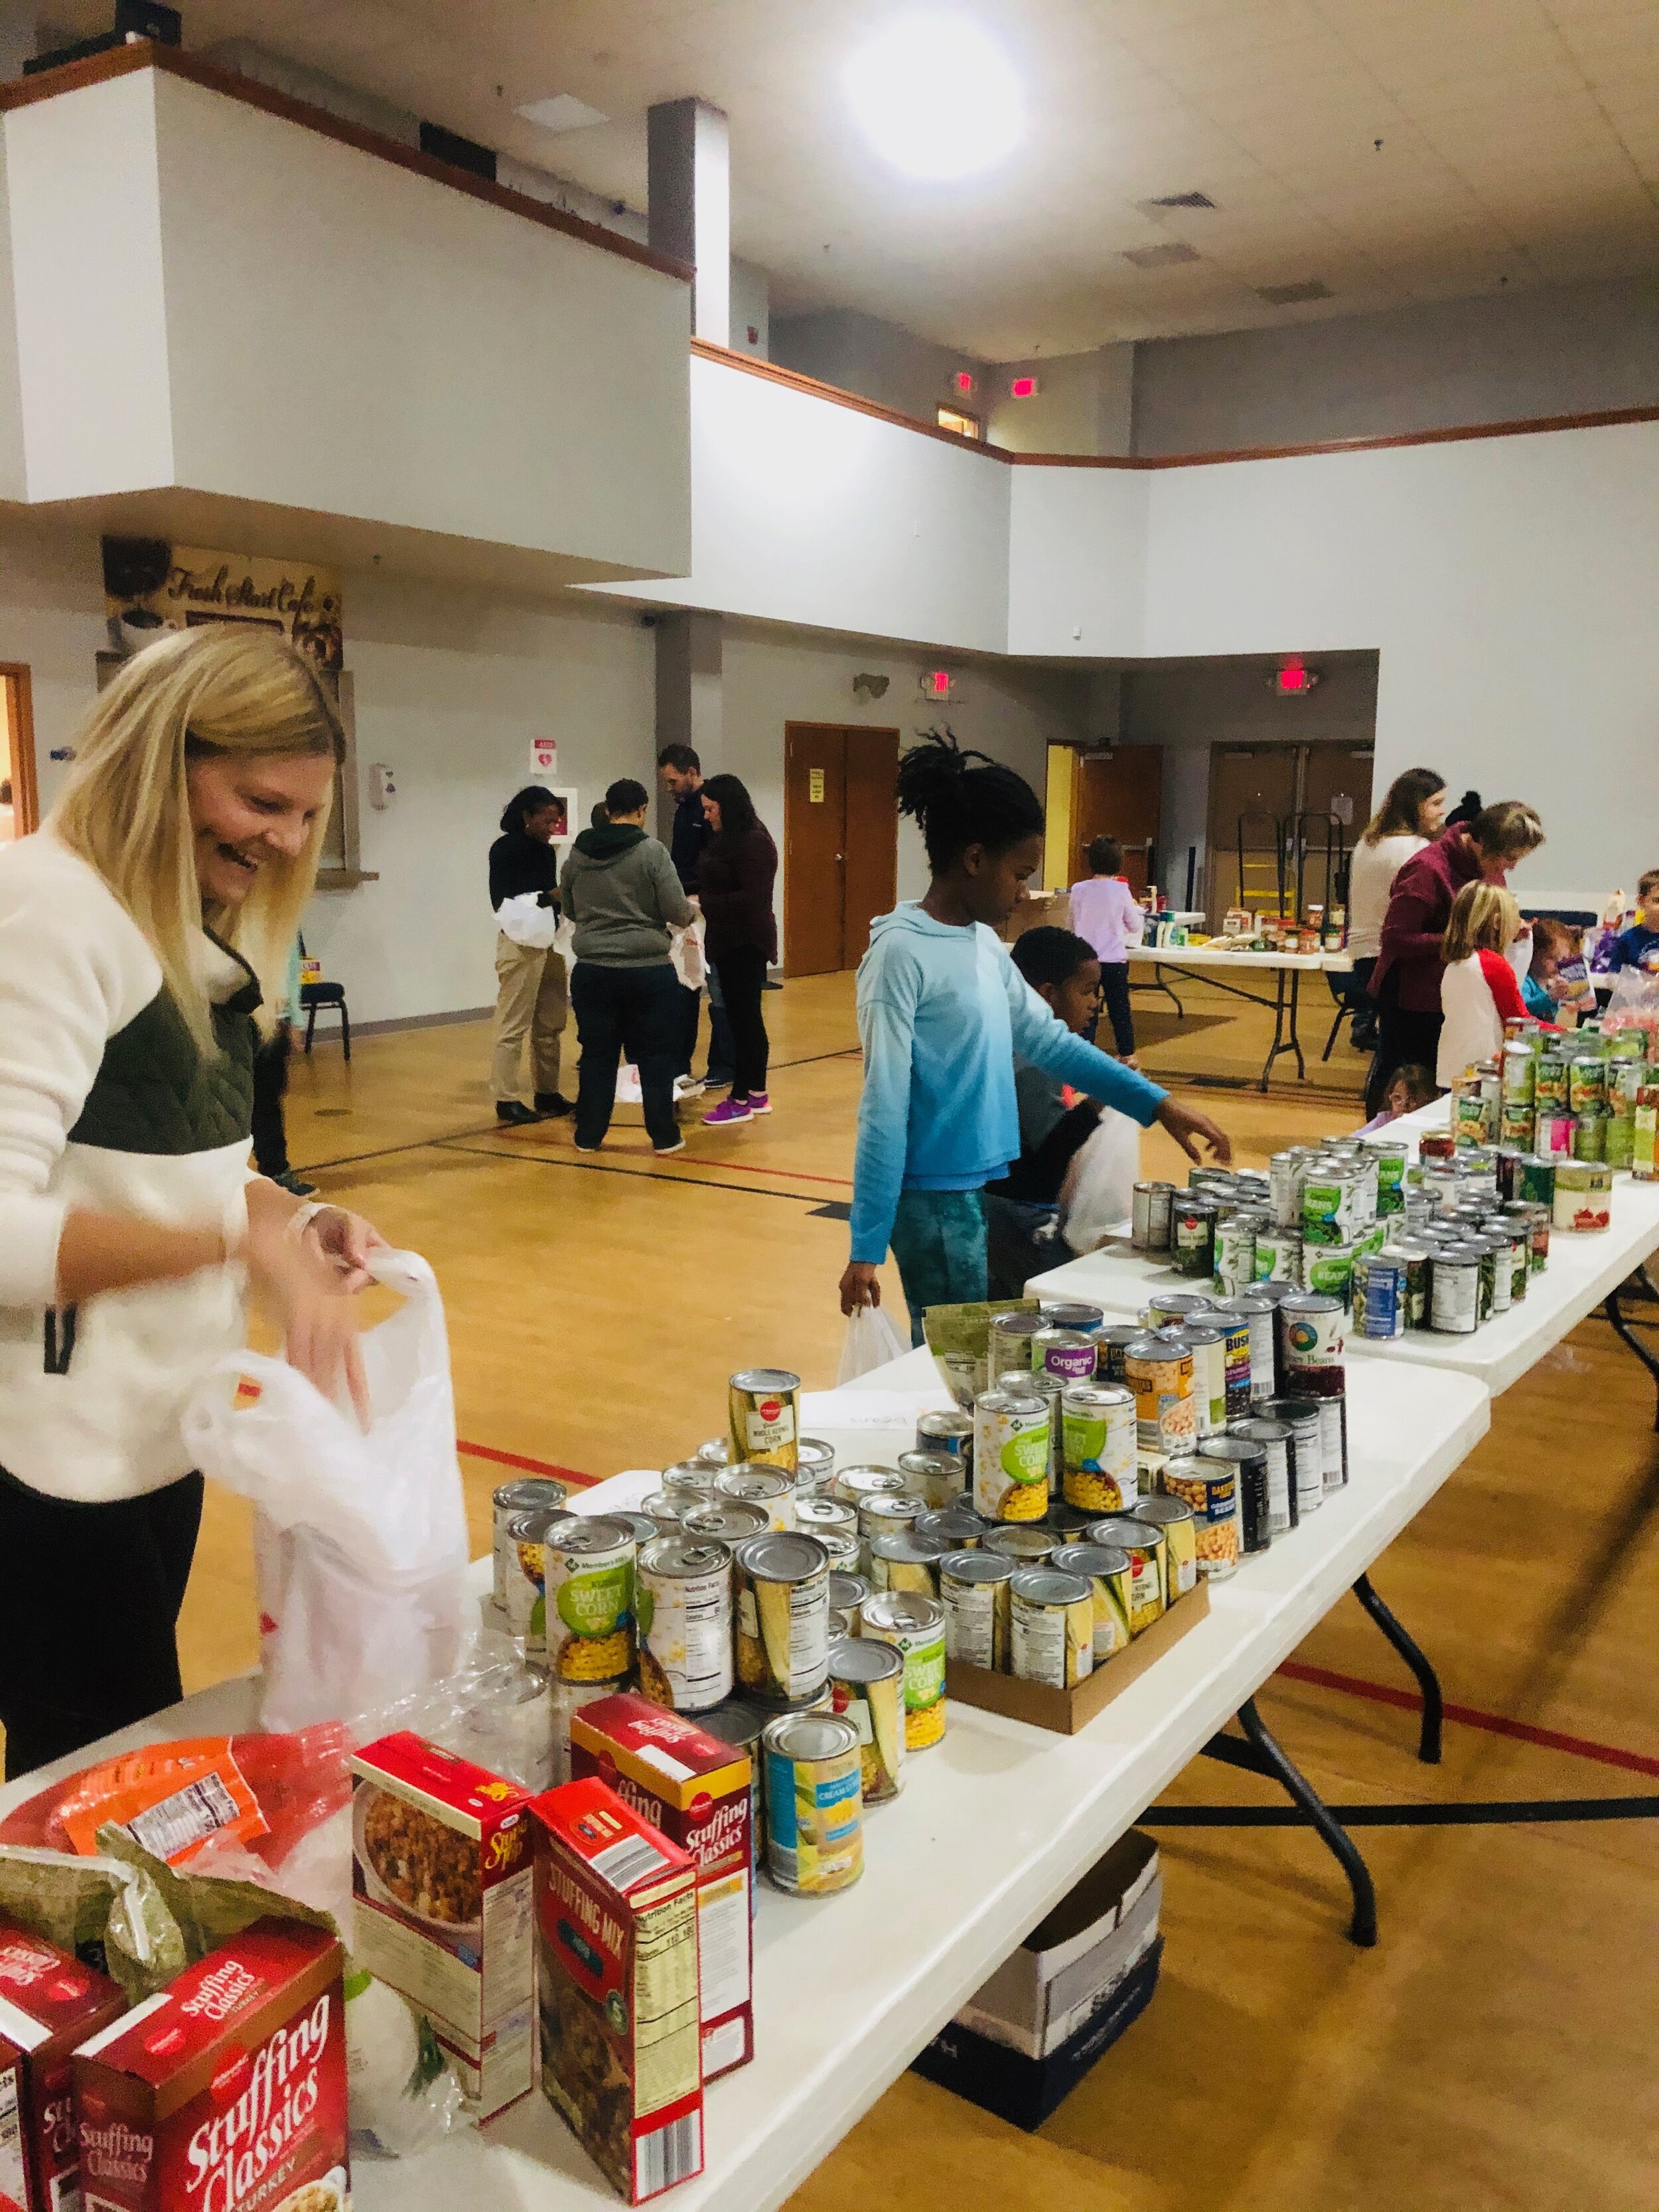
The Fit and Food Connection is a long-time donation partner of Urban Harvest STL. They provide access to healthy food, fitness classes, holistic group wellness education, and one on one coaching to communities in need. Learn about how they got started and how their work is being impacted by Covid-19.
Five years ago, The Fit and Food Connection (FAFC) was born out of a shared passion for health, wellness, and equity.
Co-founders Joy Millner and Gabrielle (Gabi) Cole were hard at work in St. Louis’s underserved communities. Joy’s organization, Living Joyfully, offered free fitness and nutrition classes to local low-income neighborhoods, while Gabi’s – The Food Place – brought healthy food to North St. Louis communities where grocery stores were scarce. In 2015, they joined forces to co-found the FAFC, working with half a dozen families to provide a food access program and free weekly fitness classes.
In the following years, this grassroots program blossomed into a multifaceted wellness education, mentorship, and food pantry program serving 55 households. The FAFC empowers their clients to reach their health goals through a holistic approach that emphasizes healthy eating, physical fitness, and nutrition education. More importantly, all their programs are free.
GROWING FOOD LITERACY
FAFC reaches the community through two main program branches: food access and wellness. Their food access program incorporates food assistance and delivery, as well as an organic garden, while the wellness Program provides group fitness classes, group nutrition seminars, and customized one-on-one programs for their clients.
FAFC’s food assistance delivery program reaches residents in the region who suffer most acutely from food insecurity. Operating out of the Believer’s Temple in Ferguson, MO, a team of dedicated volunteers assembles every Sunday to sort and prepare donated food, which is delivered directly to clients’ homes by volunteer drivers.
“Many [clients] don’t have transportation; they’re on the lowest end of the financial spectrum,” explains Joy. “This includes single mothers, families, people with disabilities, the elderly – people across the board.”
Early on, Joy and Gabi recognized that food literacy was a critical component of healthy eating habits. For someone who is unfamiliar with a wide variety of produce, many greens – for example – might look similar but taste very different. This prompted FAFC to add cooking demonstrations and seminars to their programming.
“We talk about what goes best in salads or in soups. We do a lot of classes on food prepping - how to prepare food for the week, how to cook on a dime,” Joy explains. “We also put a lot of communication into the food deliveries we give out, such as recipes, nutrient information, what to do with the food.”
It was only a matter of time before FAFC and Urban Harvest STL found each other and a beautiful partnership began. Since 2017, Urban Harvest STL has provided a steady supply of seasonal produce for FAFC’s various programs. Beyond adding fresh produce to deliveries for food pantry clients, it’s also used for monthly cooking and nutrition classes and prepared in healthy snacks for well-attended “Health Hours” that combine fitness, stretching, de-stressing, and mindfulness.
COPING WITH COVID
The design of FAFC’s wellness and food delivery programs has made the organization resilient to the upheavals of the Covid-19 pandemic. While many pantries find themselves scrambling to adapt, FAFC adjusted quickly to a no-contact procedure with minimal interruption for clients. Drivers now pick up meal deliveries outside of Believer’s Temple and leave it outside clients’ homes without any direct contact. Fitness and nutrition programming has moved online. Their existing network of volunteer wellness professionals continue to serve clients in virtual support groups and consultations, while local volunteers mentor clients while social distancing.
However, the financial strain of the pandemic has led to a surge in demand for their pantry, increasing their waitlist for food delivery. Their team of five staff and seventy-five volunteers is working hard to meet the rising needs of the community, establishing a food drive and wishlist and requesting monetary donations. As they acquire more food and bring more people off the waitlist, they also need additional volunteer delivery drivers to help distribute meals.
“The unfortunate reality is that a lot of people are out of money and hungry. I think a lot of people are living under a really high level of stress right now,” says Joy. “We’re spending a lot of time on de-stressing, because you have to start somewhere...We’re finding small ways to make our clients feel better and build confidence from within. It is more important now than ever.”
Yet Joy remains optimistic that they’ll weather the pandemic alongside their clients. She is encouraged by the spirit and impact of giving that sustains their mission, “whether it's the clients’ lives we’re changing, or waking up to see these angels – all the people who give back. It’s a beautiful world that I get to see.”
The Fit and Food Connection is a long-time donation partner of Urban Harvest STL. To learn more about them, visit https://fitandfoodconnection.org
Get Started: Unpacking the Seed Packet
You can find all the necessary information you need to succeed by reading the plant label carefully. Seed packets include such helpful information as the characteristics of the mature plant, if it is annual or perennial, and the optimal conditions for seed germination and plant growth. This guide introduces the most common features of seed labels with tips on how to read them for best results.
Starting your plants from seed has many benefits to the novice gardener. They are an inexpensive alternative to purchasing seedlings each year, and perennial seeds only need to be planted once and will return year after year on their own!
You can find all the necessary information you need to succeed by reading the plant label carefully. Seed packets include such helpful information as the characteristics of the mature plant, if it is annual or perennial, and the optimal conditions for seed germination and plant growth. This guide introduces the most common features of seed labels with tips on how to read them for best results.
FRONT OF THE PACKET
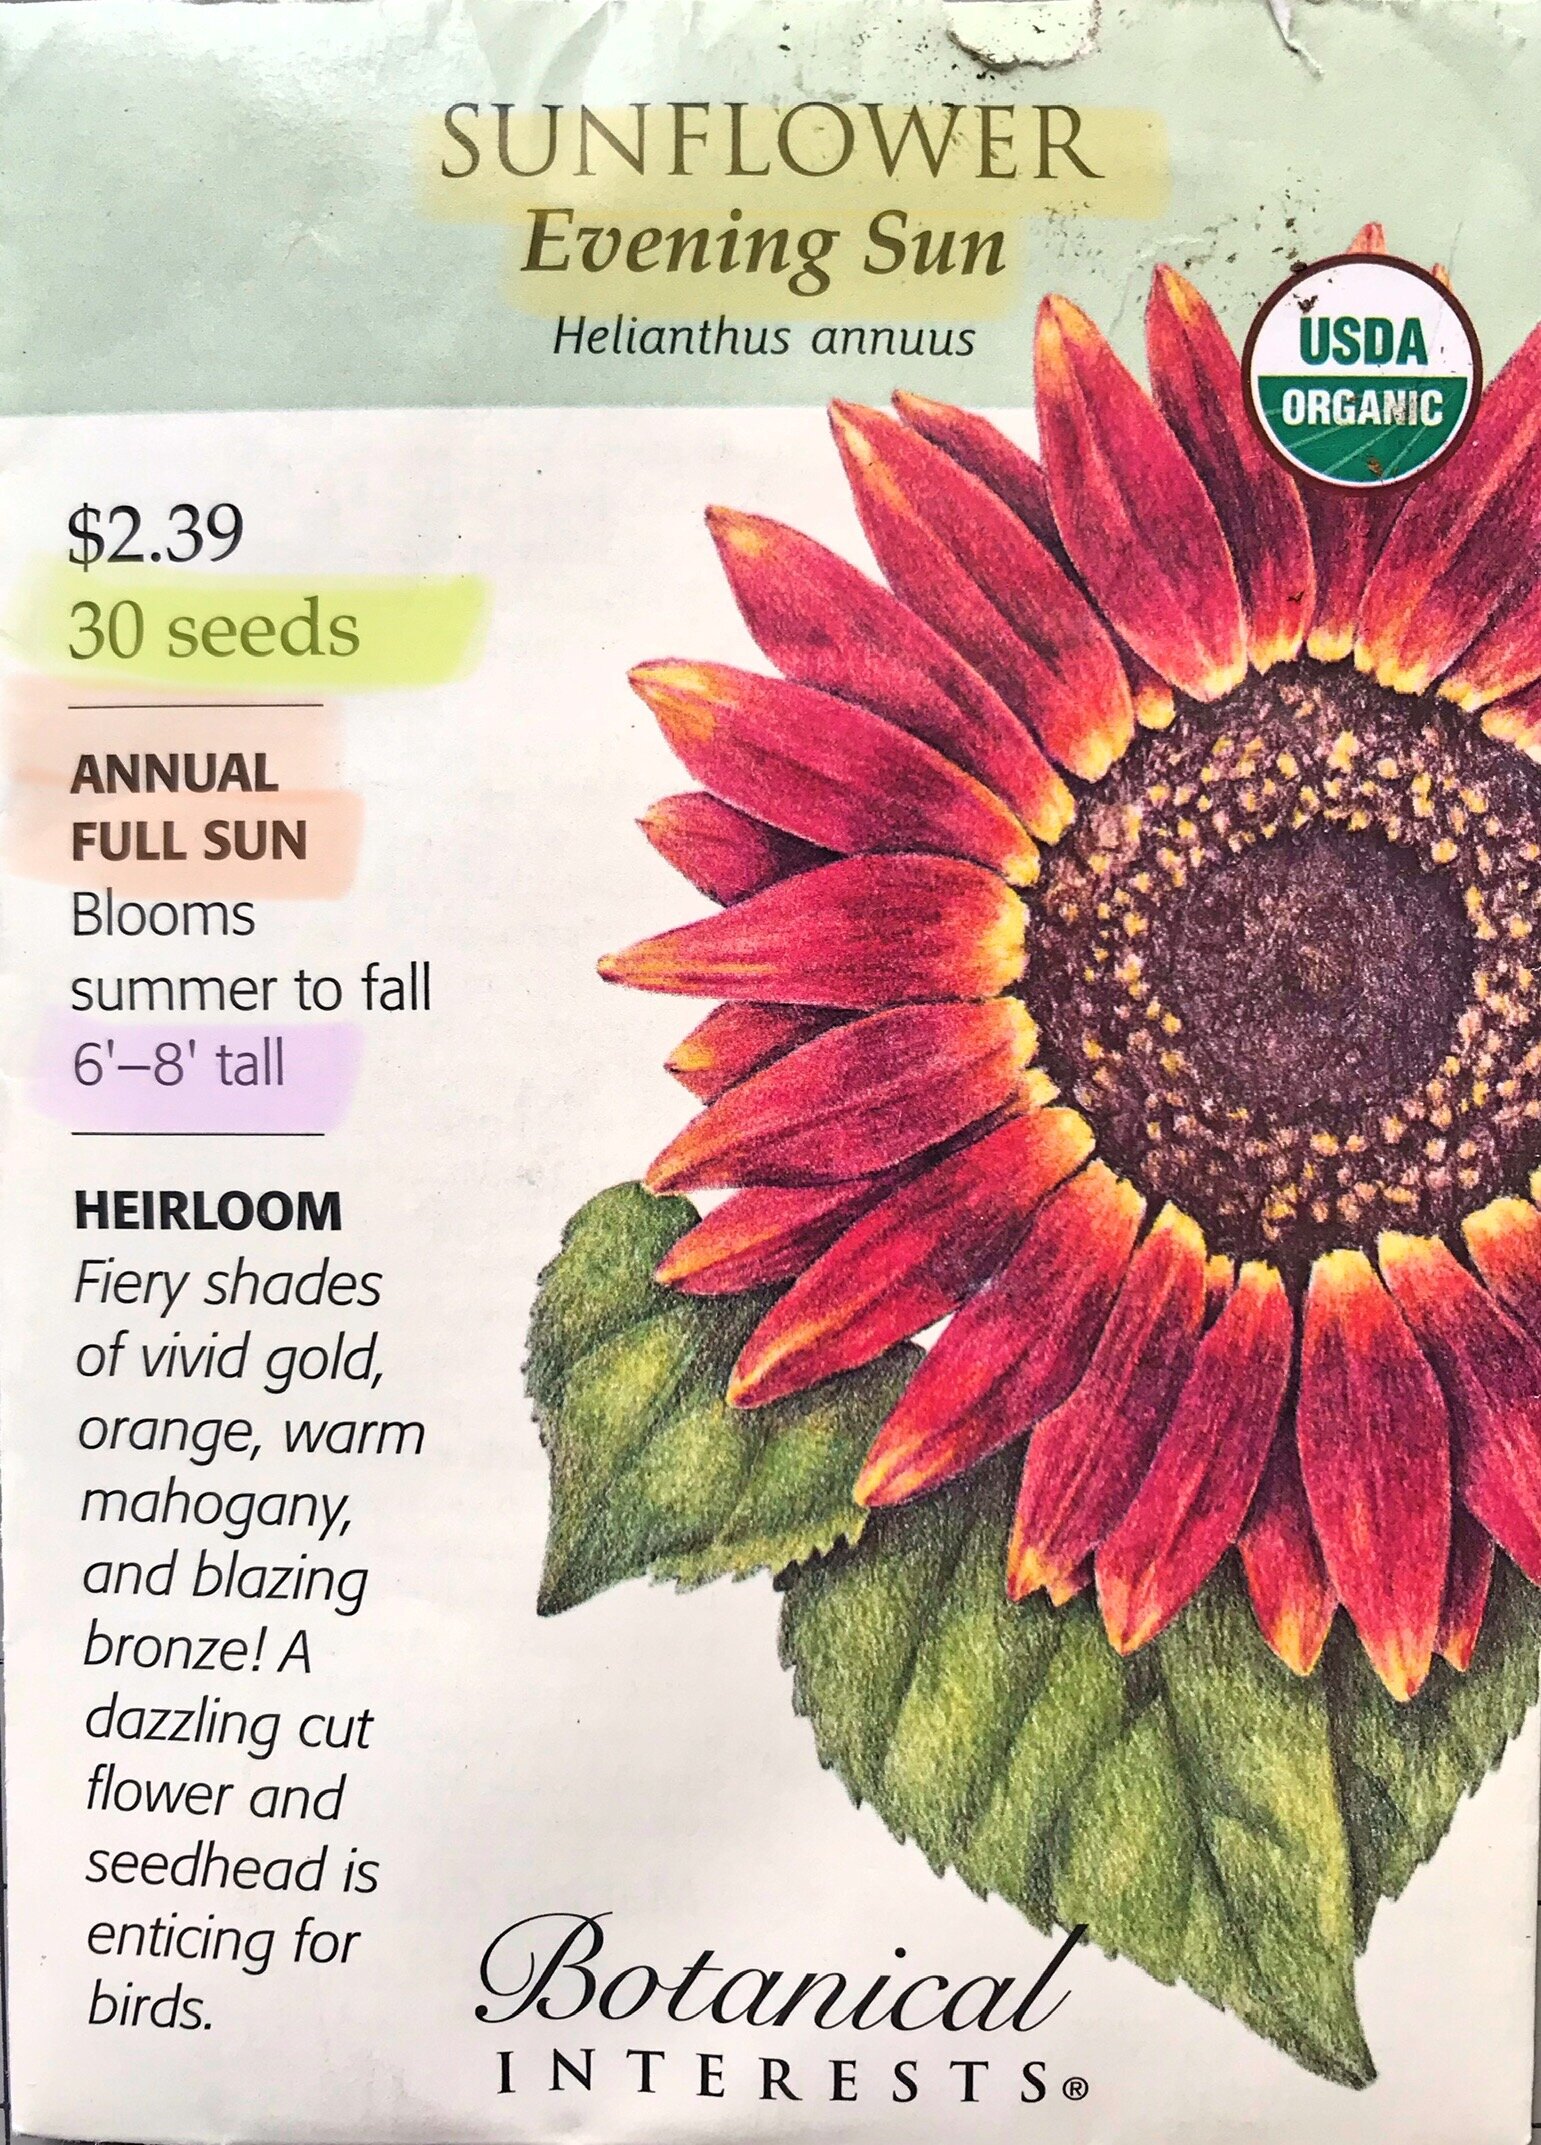
Name of Plant Species
Includes common and scientific names
Number of Seed in Package
May also include the weight of seeds per pack
Annual or Perennial
Annual plants must be grown from seed every year. Perennials return on their own the following season.
Sunlight Requirements
Full Sun = 6-8 hours direct sunlight. Partial Sun = 4-6 hours sunlight. Light Shade = 2-4 hours sunlight
Height of Mature Plant
Average full height of plant in ideal conditions.
BACK OF THE PACKET

Plant Description
Describes plant species, including appearance, benefits, and suggested uses.
Indoor or Outdoor
Depending on tolerance for cool temperatures and hardiness for transplanting, some seeds can be planted in seed trays indoors while others can be sown directly outside. For outdoor planting, search online for “last frost date” in your region to calculate when to plant.
Germination Time
How long on average the seed needs to germinate.

Planting Depth
Seeds germinate at different depths, from relatively deep (½ inch) to shallow (⅛ inch). Some seeds need to be buried, while others only sprinkled and lightly covered.
Seed Space
Space needed between seeds (within a row) to avoid overcrowding mature plants. Some instructions might suggest sowing seeds closely and “thinning” them by removing some seedlings, leaving only the hardiest to grow.
Row Space
Space needed between rows of seeds
Although germination rates are best on the year that seeds were packed, it is possible to increase the longevity of your seeds through proper storage. Seeds need to be stored in cool, dry, dark conditions, and it is best to use an airtight, watertight container such as a jar with a rubber seal or a ziplock bag inside a jar. Ideally seeds last longest at cool temperatures below 50℉, so you may store them in a refrigerator or freezer.
Another cost effective option for annual vegetables and flowers is to “save” your seeds at the end of the growing cycle. After plants flower and fruit, they will go to seed, which you can collect for your own use. Store these seeds following the guidelines above and you will have free seeds to use next year!
Get Started: Know your Growing Conditions
Learn what grows well in your geographic region, how to use a planting calendar to your advantage, popular cool season and warm season crops, and the light exposure needs of your crops!
HARDINESS ZONE

The USDA created a map of 11 planting “zones” in the USA. Each zone is 10℉ warmer or colder in average winter temperatures than the adjacent zone. The most recent map was published in 2012. The map helps determine whether a plant will grow well in a geographical region; in particular, perennial shrubs and trees have an assigned zone. Seed packets may also reference the hardiness zone for planting instructions. Generally, lower numbers indicate a colder climate in that region.
Use this link to enter your zip code and determine your planting zone. In St. Louis, where the FOOD ROOF is located, we are in Zone 6B.
PLANTING CALENDAR
While the hardiness zone determines if a plant is suitable to your climate, a planting calendar helps you determine when to start your crops. Calendars are based on frost dates in your area to guide when you can safely plant seeds or seedlings outdoors. Many agricultural extension services publish calendars for their region.
Here in Missouri, we can use a planting calendar from Missouri University Extension. A searchable version is found here, and the PDF here.
Note: The Farmer’s Almanac Online offers a helpful search feature that allows you to find your planting calendar based on zip code across the USA and Canada.
SEASONAL PLANTING
A key aspect of planning your gardening is knowing cool season versus warm season vegetables.
Cool season crops can be planted first, before your last frost date, as these early vegetables do well in cold weather and may even need it. These plants can have two growing cycles per year: spring and fall. Popular cold-hardy plants include kale, greens, Brussels sprouts, broccoli, peas, carrots, and radish.
Warm Season crops require warm soil and air temperatures and are always planted after the last frost date. Most of these crops are started indoors and transplanted when it is warm enough. They will only have one growing cycle per year. Popular warm weather crops include: beans, corn, cucumbers, eggplant, melons, peppers, zucchini and summer squash, sweet potato, tomato, and watermelon.
LIGHT EXPOSURE
Many vegetable crops prefer sunny conditions. Annual flowers also prefer sunny exposures for full blooming. Before you plant, observe your space: which area gets the most hours of sun during the day? Which areas are mixed and which are shaded?
FULL SUN
6-8 hrs direct sunlight
Sunflower
Zinnia
Marigold
Geranium
Tomatoes
Pepper
Eggplant
Cucumber
Corn
Squash
PARTIAL SUN
4-6 hours direct sunlight
Beans
Beets
Broccoli
Cabbage
Carrots
Radish
Onion
Peas
LIGHT SHADE
2-4 hours direct sunlight*
Mustard greens
Spinach
Chard
Kale
Lettuce
Arugula
*Generally also suited to cooler temperatures
Get Started: Worm Composting (Vermicompost 101)
Also known as vermicomposting, this technique uses an ecosystem of earthworms and microbes to break down organic material into a natural fertilizer called worm castings. Gardeners consider this to be “black gold” because castings have very high levels of microbial activity that enriches soil and promotes water retention.
WHAT IS WORM COMPOST?
Also known as vermicomposting, this technique uses an ecosystem of earthworms and microbes to break down organic material into a natural fertilizer called worm castings. Gardeners consider this to be “black gold” because castings have very high levels of microbial activity that enriches soil and promotes water retention. The most popular type of composting worms are called Red Wigglers. This is not the same species of earthworm that you find in your garden soil. They can tolerate a range of environments and are very efficient converters of organic material. At least 1 lb (approx 1000 worms) is recommended for starting a home system. A worm bin is one of the most efficient methods available for composting indoors!
How to build your urban worm bag.
OPTIONS FOR YOUR WORM BAG/BIN
DIY Plastic Tub: This requires a sturdy plastic (10 gallon) tub with holes drilled in the side and bottom for airflow. An option with this design is to “stack” one tub (with holes in the bottom for drainage) into another tub to catch excess moisture. To harvest finished compost, the worms must be separated from castings manually.
Stacking System: This is a popular alternative to the single bin because it avoids water-logged compost and the task of separating finished castings. These stacked bins are made of nesting trays that are placed on top of each other in a vertical tower. The trays have holes or mesh on the bottom, which allows worms to migrate upward when the food and bedding in the lower tray has been converted to castings.
Continuous Flow System: A single container that provides continuous finished castings without disturbing the worms. Food scraps and bedding are replenished on top of the system while the finished castings are removed from the bottom. Worms will naturally migrate to the upper 6 inches of the system where the food is plentiful, leaving their castings below for you to use. This is the design used by the Urban Worm Bag featured in our video tutorial.
Setting up the environment for your worm bed.
CREATING THE RIGHT ENVIRONMENT FOR YOUR BIN
Bedding materials: Popular options include coco coir, aged (not fresh!) horse manure, dry leaves, mature/finished compost, shredded paper and cardboard products including toilet paper rolls, paper egg cartons, and any newsprint that isn’t glossy or colored ink. Remember that the worms will also consume/convert their bedding so you do not want to add anything toxic or inorganic to the mix.
Microbes: A crucial part of the vermicomposting team! Microorganisms break down food scraps prior to worms consuming them. Add a scoop of compost when you start your bin to kickstart microbial activity. If you don’t have finished compost, a scoop of garden topsoil is an excellent alternative.
Moisture: Ideal moisture content is about 60%. The simplest way to determine if your bin is in this range is to squeeze a handful of your compost. You should get 1 drop of water. If the castings are crumbly, the bin is too dry, and you can add more food or water (use mist or spray bottle only). If you get more than 1 drop of water or it’s “muddy,” it is too wet. Add bedding and stop feeding for a period of time.
Temperature: Unlike an outdoor compost bin, the microbes in your worm bin do not need hot temperatures. In fact, the right temperature range in your bin is 40-85° Fahrenheit, but does best at 60-75 ℉. Overfeeding leads to overheating!
pH: This should be neutral to slightly acidic. You can maintain this balance by adding fresh bedding with food scraps. Only add moderate amounts of acidic foods like berries or citrus. Occasionally adding ground egg shells will also help counteract the acidity of food scraps (and the grit is good for worm digestion!)
FEEDING YOUR WORMS
Adding your worms
Feeding your worms
Suitable worm food: Worms can eat most fruit and vegetable scraps, grains such as plain rice and oatmeal, coffee grounds, crushed egg shells, pulp from a juicer, small amounts of bread, and used tea bags. Worms will process shredded or cut up food more quickly and love food that microbes have already started to consume. You can leave food scraps in a container for a few days before adding to the bin. Do you have some veggies in your fridge that are slightly mushy, or brown bananas? This is perfect worm food!
Unsuitable foods: Do not feed your worms butter, meat, dairy, bones, oils, salty foods, grass clippings, citrus, onions, hot pepper, spicy food, pickles or vinegar, pasta, wood ash, and pet feces. Worms do not process these foods well, so they may be left to rot and create odor or breed undesirable bacteria in the bin.
Frequency: Add 25-33% of the weight of your worms every 3 days and observe if the worms finish processing that food before adding fresh scraps. If you see rotting food on top of the bin, they are not consuming it quickly enough and you should add less food.
Rough guideline for volume conversion of food waste: 1 lb ≅ 4 cups or 1 qt.
Overfeeding: This is the most common error that beginners make. Is your bin too wet or too hot? Does it have an unpleasant odor? You are overfeeding! Add dry bedding and stop feeding until conditions stabilize.
FINISHED WORM CASTINGS
Most vermicompost systems will produce usable worm castings in 8-12 weeks, which is quicker than traditional composting. Finished vermicompost is dark, earthy smelling and moist but not soaking.
Castings can be added directly into a potting mix or used to “side dress” your plants and seedlings!
ADDITIONAL RESOURCES
Composting Inside and Out: 14 Methods to Fit your Lifestyle by S. Davies
Worms Eat my Garbage: How to Set up and Maintain a Worm Composting System by M. Appelhof and J. Olszewski
Composting with Worms: Don’t make these 5 Mistakes (Uncle Jim’s Worm Farm)
How to Start and Maintain your Worm Bin (Urban Worm Company)
The Ultimate Guide to Composting (Simple Grow Soil)
Free Online Gardening/Agriculture Classes
With shelter-in-place mandates across the nation, we have all had to adapt to the new normal and find activities we can do at a safe distance from others. One of those is gardening - a great source of exercise and, of course, food. Urban Harvest STL is working to create our own library of virtual resources, and in the meantime we wanted to highlight other organizations who are offering free gardening/agriculture classes.

With shelter-in-place mandates across the nation, we have all had to adapt to the new normal and find activities we can do at a safe distance from others. One of those is gardening - a great source of exercise and, of course, food. Urban Harvest STL is working to create our own library of virtual resources, and in the meantime we wanted to highlight other organizations who are offering free gardening/agriculture classes.
Free online permaculture course (Permaculture Women’s Guild): learn the basics about whole-systems design and organic living, and regenerative agriculture, for FREE!
Victory Garden Challenge 2020 (Urban Farm U): free online classes on gardening, growing food, and self-reliance.
Cornell Small Farms Program (Cornell College of Agriculture & Life Science): use the code “Covid19” to sign up for free farming classes!
Great Market Farming Courses (Neversink Farm): growing techniques, business strategies, organizational systems, employee management
Conservation at Home: Citizen Science (Great Rivers Greenway): participate in tracking projects, from birds to pollinators to invasive species and many more!
Children's Activities: Germination Exploration
This indoor activity uses simple household materials to show children the magic of seed germination! Using a clear plastic sandwich bag, children can watch as their seeds sprout and grow roots! Complement this activity with books including: How a Seed Grows, by Helene J. Jordan, How Does a Seed Grow? by Sue Kim, One Bean, by Anne Rockwell, or What Do Roots Do? by Kathleen V. Kudlinski.
Recommended for ages 3-10
This indoor activity uses simple household materials to show children the magic of seed germination! Using a clear plastic sandwich bag, children can watch as their seeds sprout and grow roots! Complement this activity with books including: How a Seed Grows, by Helene J. Jordan, How Does a Seed Grow? by Sue Kim, One Bean, by Anne Rockwell, or What Do Roots Do? by Kathleen V. Kudlinski.

What you’ll need:
2 - 3 seeds (large seeds such as beans work best!)
Water
Stapler
Clear ziplock bag
Folded paper towel
Tape
Craft sticks (optional)
How to assemble:
1. Place a damp, folded flat paper towel into a ziplock bag. Squeeze the paper towel so it is damp but not soaking.

2. Assist children with stapling 3-5 staples about halfway up the bag. This will keep the beans in the right place so that there's room to watch the roots grow.

3. Children can place seeds into the bag. Loosely zip closed the top of the bag.

4. Children can write their names on a wood craft stick, which can be glued to the bottom of the bag (lay flat to dry)

5. Tape the bag onto a wall or window. Monitor the paper towel and add water as needed to keep it damp.

6. Watch what happens!
TIP: soak seeds in water in a bowl the night before, as many seeds sprout faster when soaked prior to planting..